My meshtastic info and designs.
https://github.com/bryanshellpuppy/Meshtastic3d
mqtt.k7bat.com is my public MQTT server that you are welcome to use. Email me for the password.
I am located in Northern Clark County Washington, City of Ridgefield. I plan on maintaining a permanent solar node an my house that anyone can use. Its built on a RAK board.
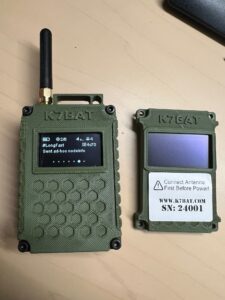
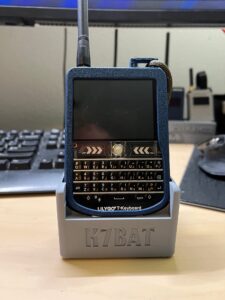
Being an enthusiast I have several nodes (over 10) and enjoy building them. I have 5 3D printers to build any kind of case you can think off and a wall of electronic parts to solder together and make it work.