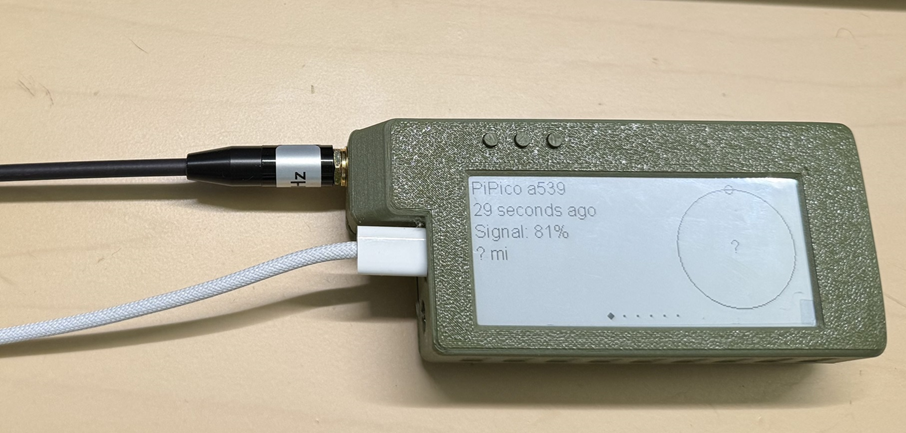
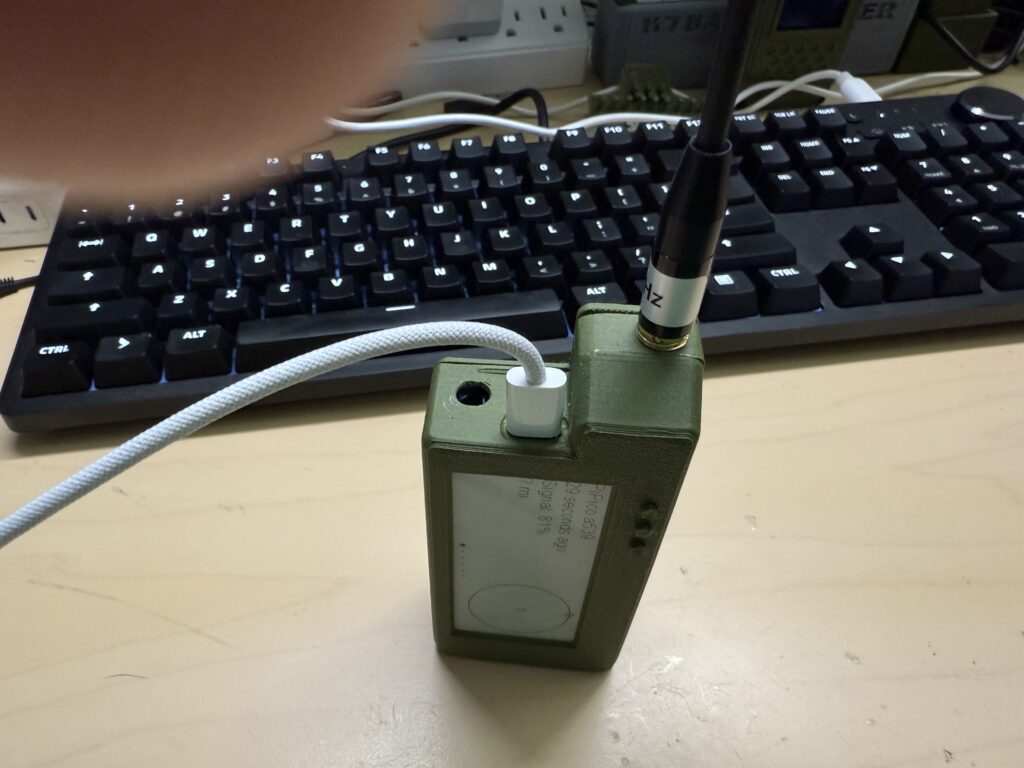
I built a Meshtastic node with the Heltec Vision Master E290 and added a buzzer, vibrator and power switch. The biggest thing is to add the mosfet to turn on and off the GPS with 3 clicks of the user button.
Everything is working with Meshtastic 2.5.7. The case is the biggest issue, to fit all these things in and a large battery, you need to expand the back cover or add a bulge. More on that soon.

Wire Diagram:

Parts List:
1 x Heltec Visionmaster e290 LoraX004BLRQ43 (915mhz US) https://amzn.to/48sTqtI $32.99
1 x Heltec mini 4 pin cable (comes with the board)
1 x GPS with Antenna https://amzn.to/3YNH2S1 $8.94 each
1 X 2000 mah 3.7v battery (can go larger if you modify the case) https://amzn.to/48sTqtI $12.99
1 x buzzer https://amzn.to/48sTqtI $6.89 (Bulk) $0.70 each
1 x cell phone vibrator https://amzn.to/48sTqtI $6.99 (Bulk) $0.70 each
1 x Mosfet for GPS https://amzn.to/48sTqtI $9.99 (Bulk) or $0.10 each
1 x sliding 2 position power switch (pico) https://amzn.to/4hqZGX4 $0.17 each
1 x 915mhz Lora Antenna Male SMA https://amzn.to/4hvlhNW $13.90
1 x RG-178 RF U.FL IPEX IPX Mini PCI to SMA Female Pigtail https://amzn.to/4hqZGX4 $1.20 each
optional JST connectors to make the wiring clean
Print Case, Cover, and Frame
Print buttons and the rockers that you need to use the case.
Power Switch:
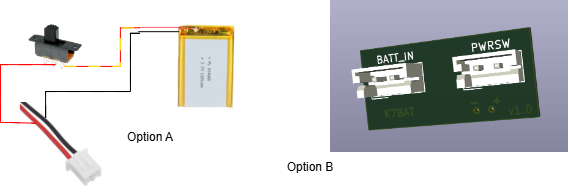
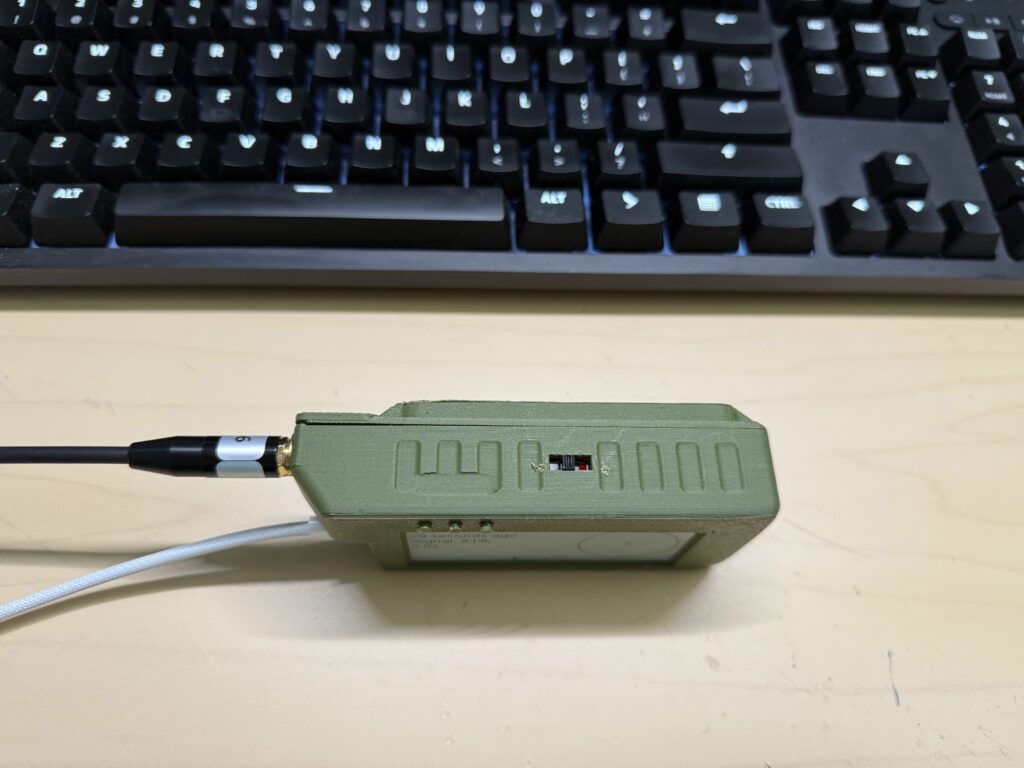
The power switch is a simple 2 position slider that you connect inline with the positive side of the Lipo 3.7v battery.
A better way would be to add a smart circuit that can charge the batter even when the device is switched off. I will cover this in another post, it can be used on almost all the Arduino / Meshtastic devices and replaces on board charging that can be flakey.
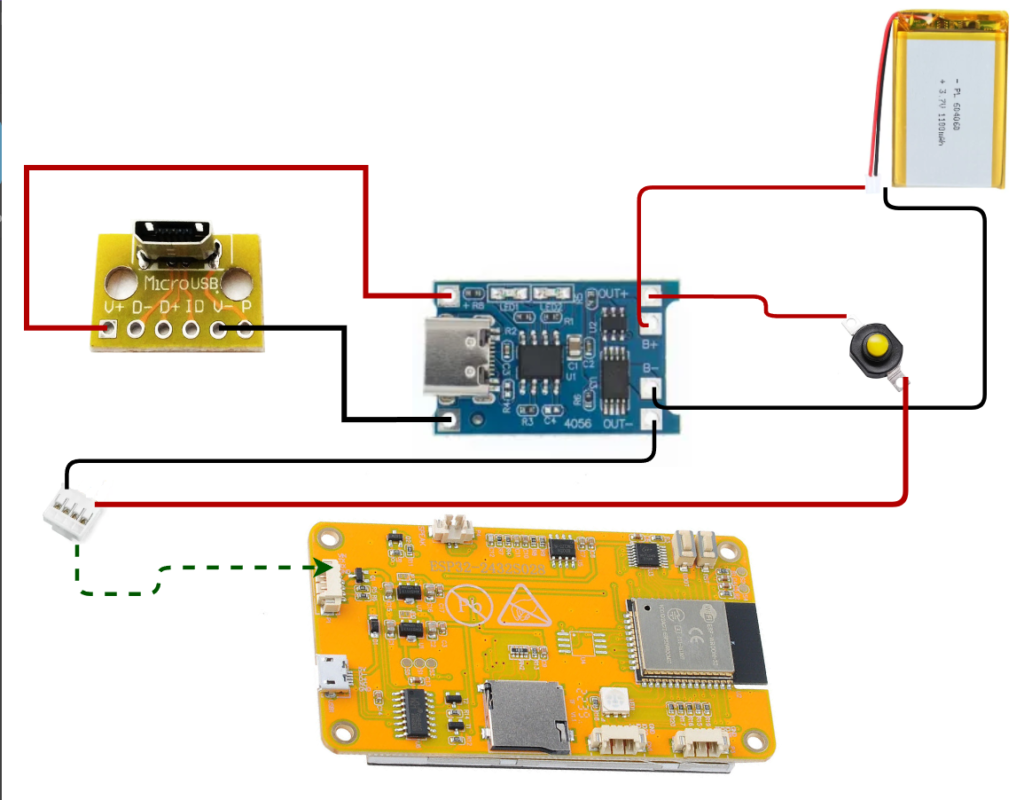
Similar to this diagram you get the point on where to add the button. Using a simple solar / usbc charge controller and relocating the charging usb port you could replace and move the charge port somewhere else. Draw back is USB serial will still need to be done with the onboard USB connection. In this diagram I am only sending power to the charge board.
