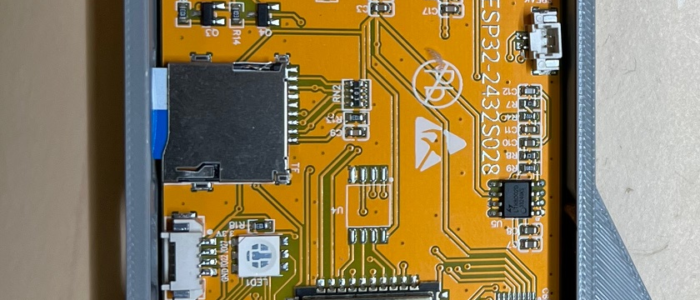
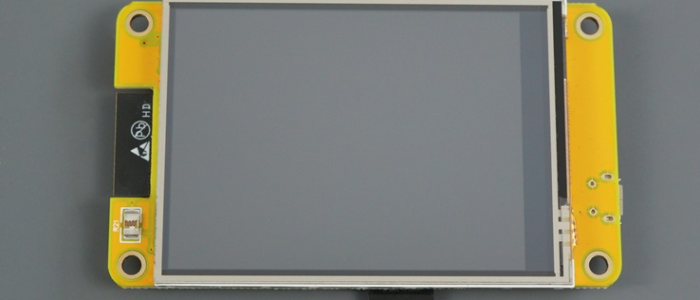
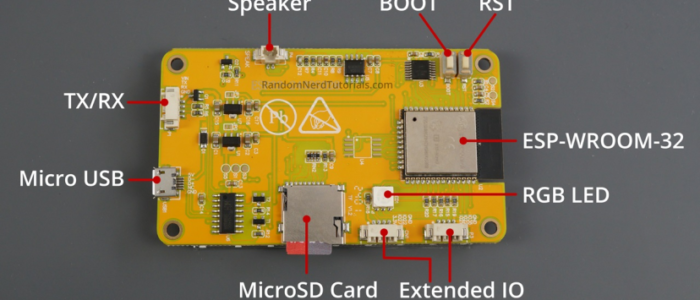
The cheap yellow display is to cheap not to play with. Its easy to 3d print cases for, its fun, and it can be hacked all day long with that Arduino code.
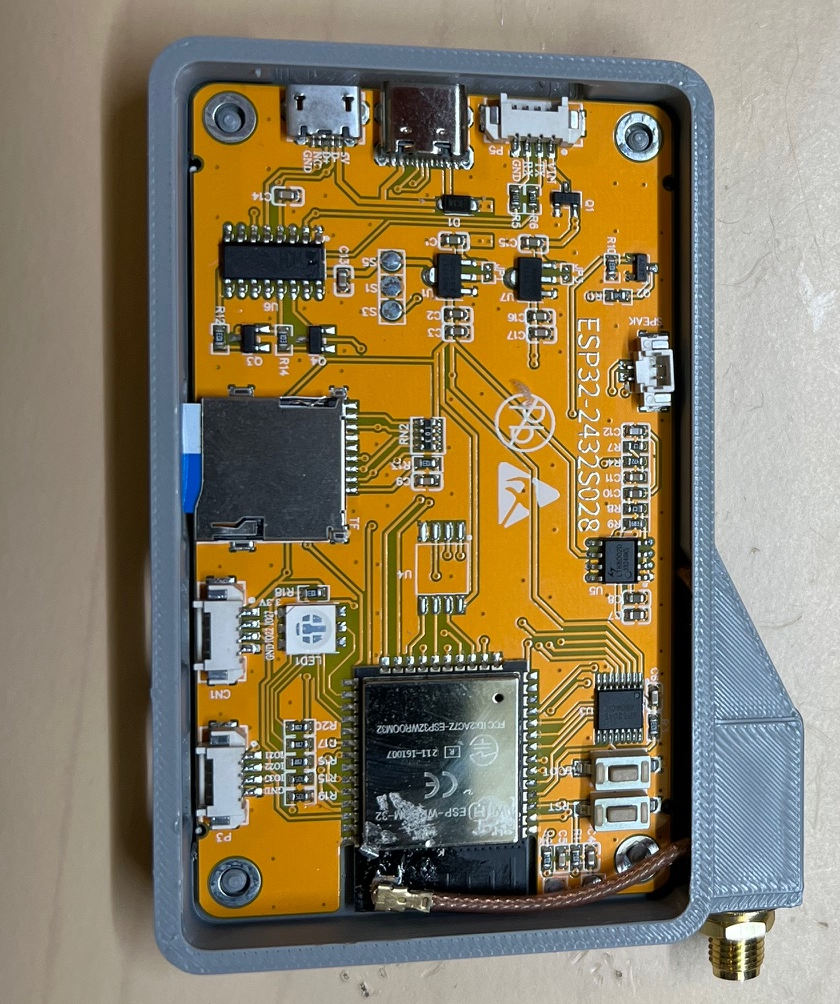
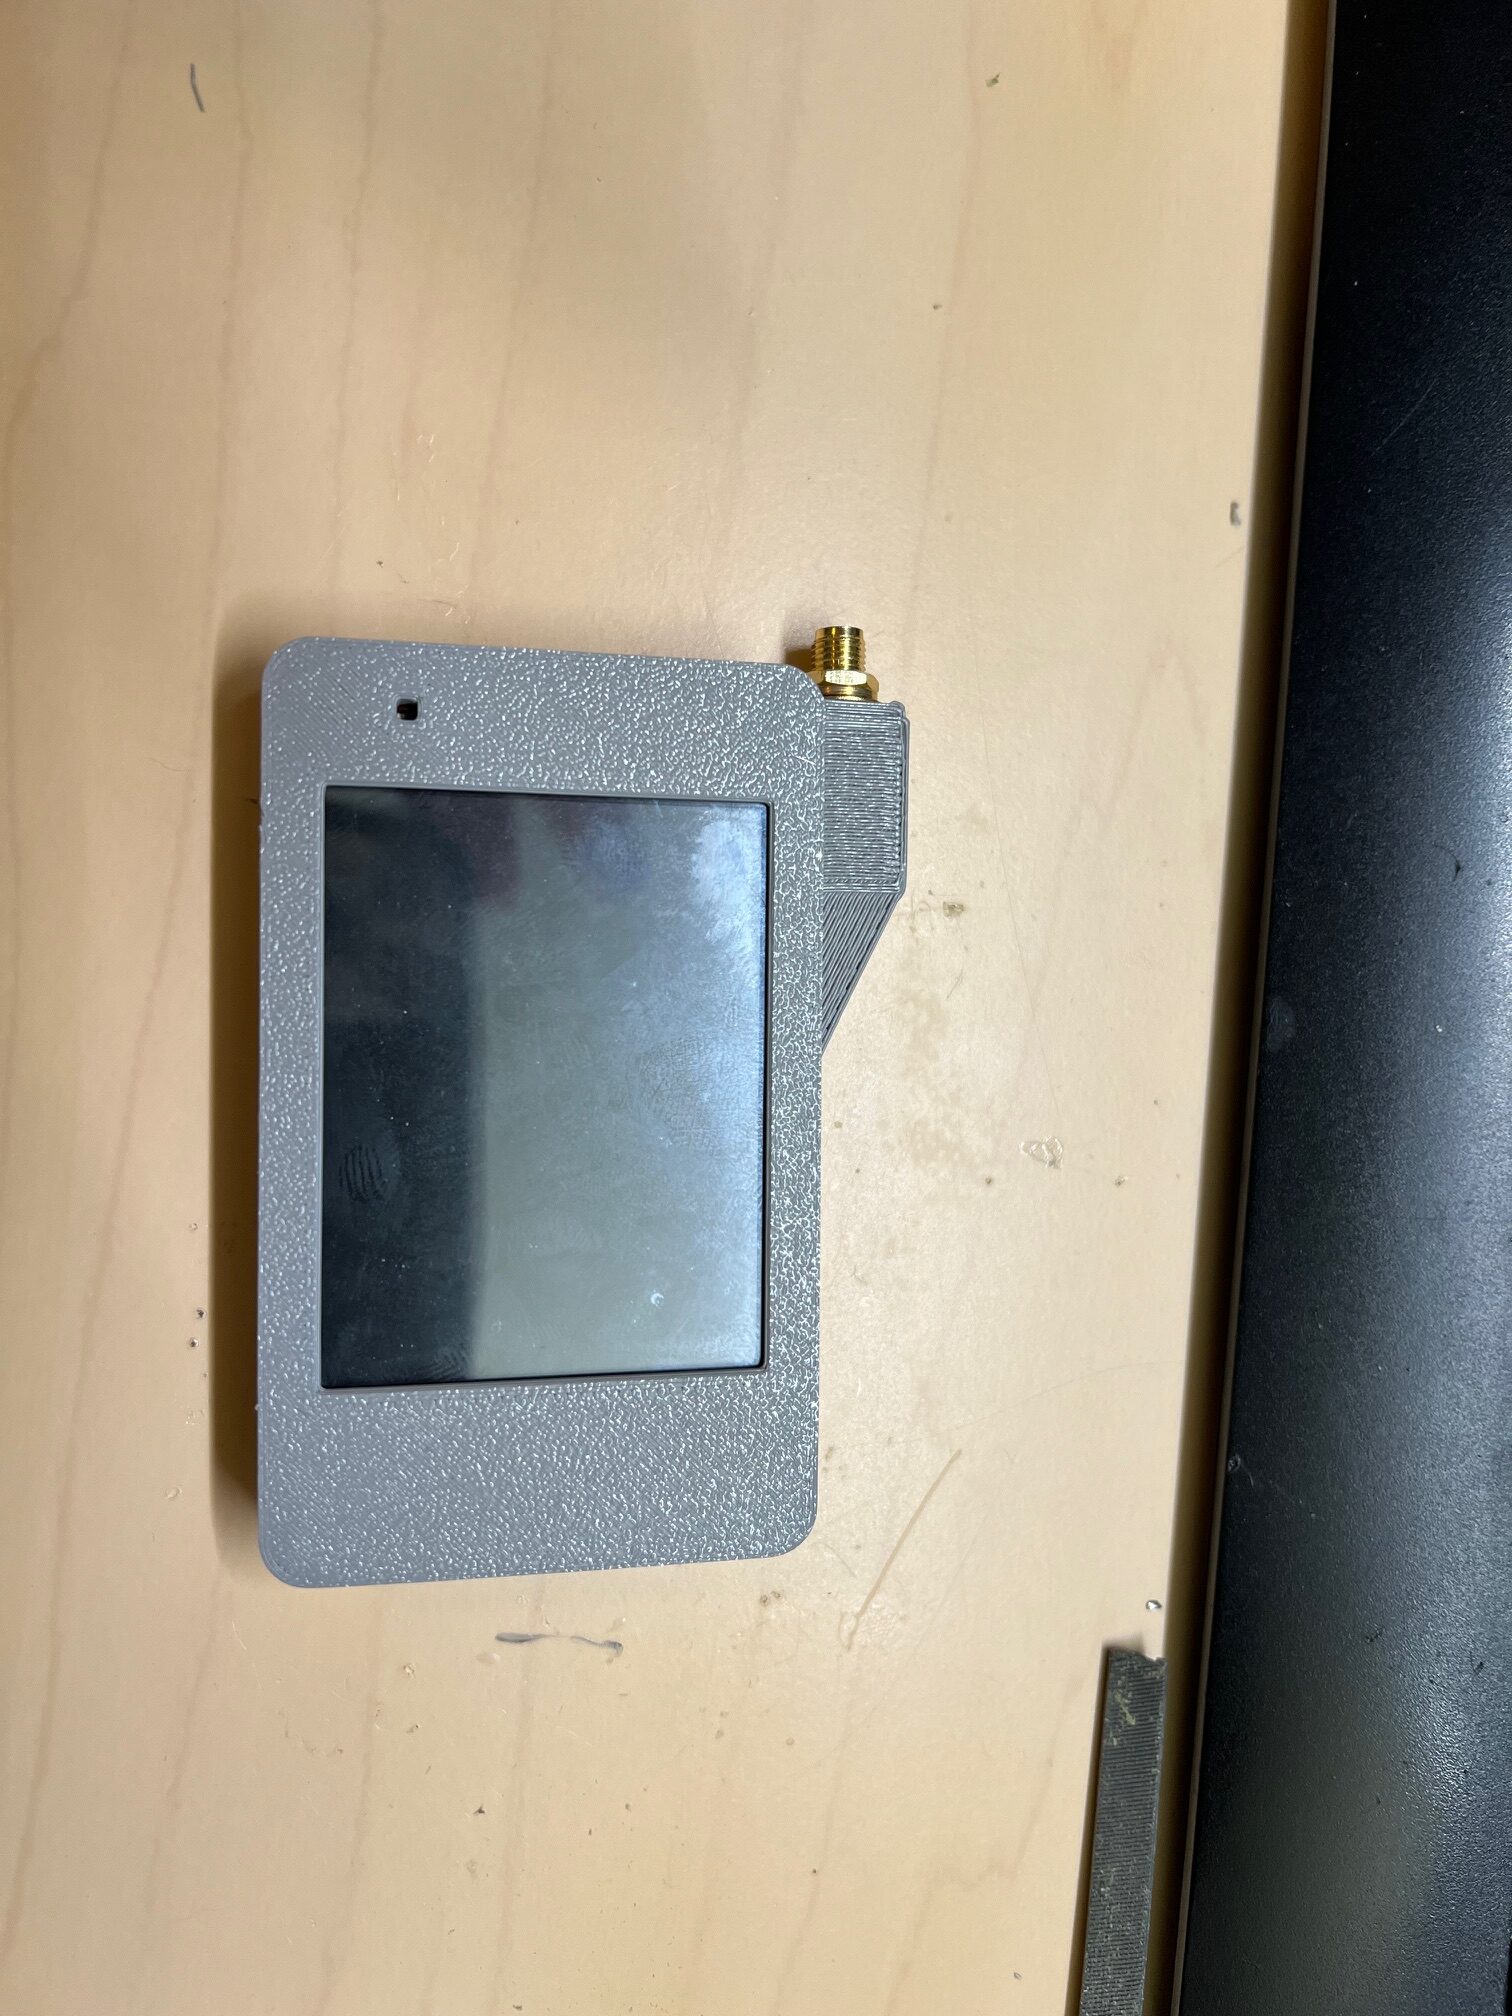
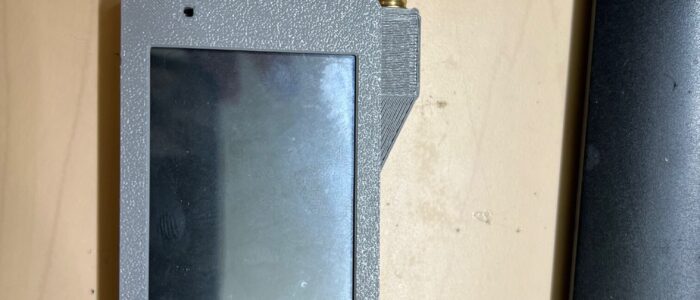
I first started out doing some case design work to add an external antenna, power button, battery, charge controller, well I did alot all at once.
https://www.printables.com/model/1009125-28-inch-diymall-esp32
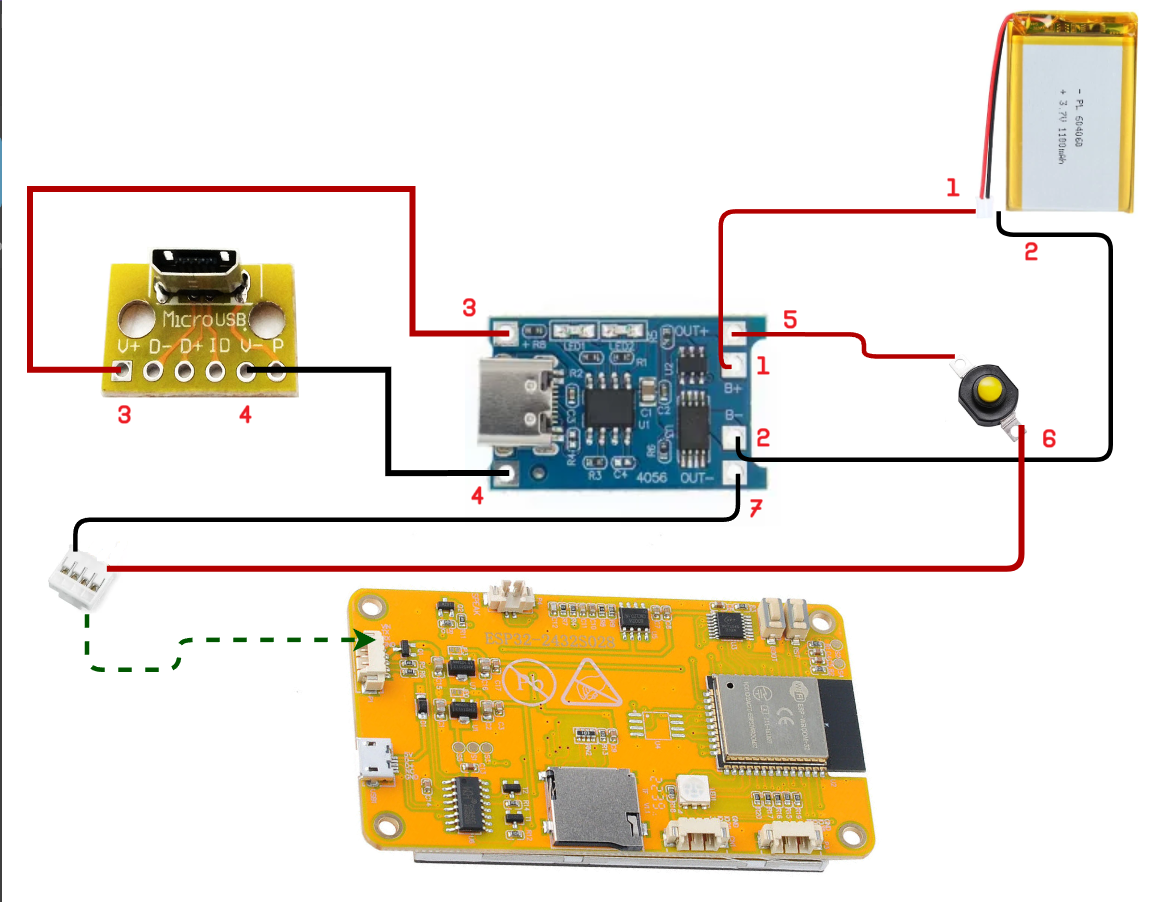
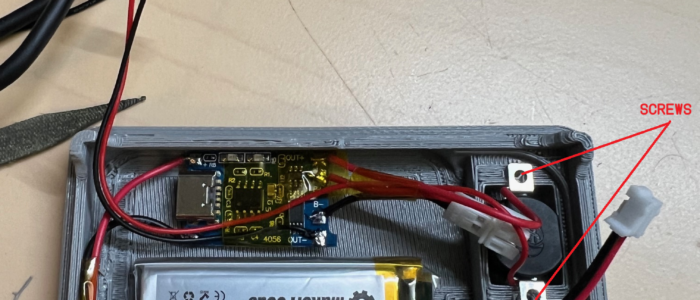
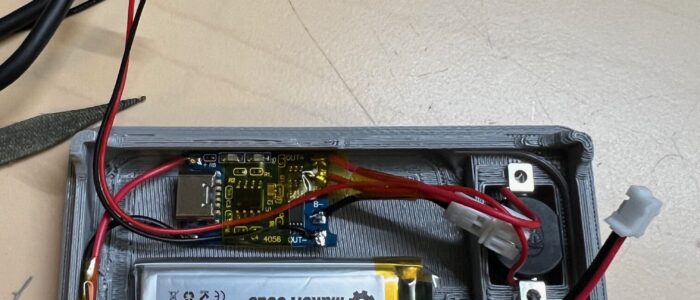
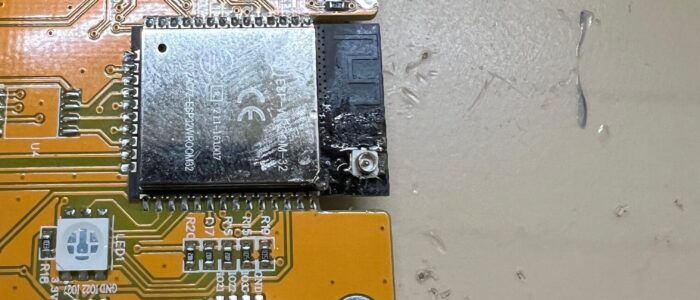
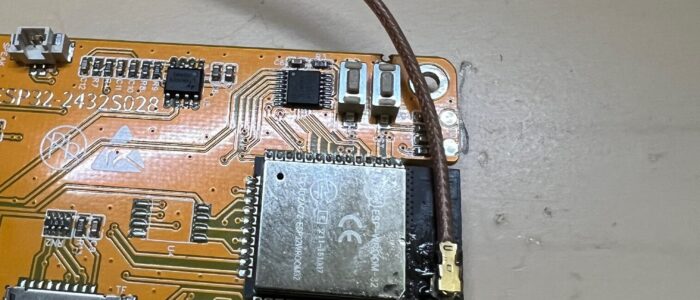
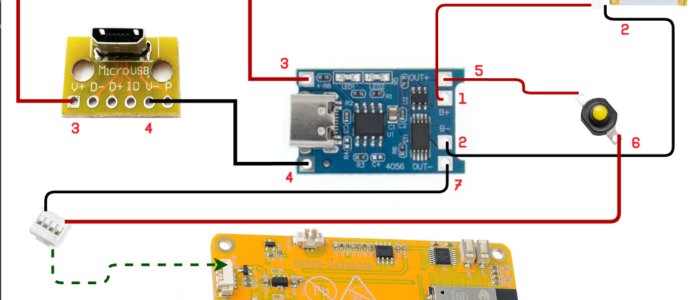
I designed a simple power setup with minimal soldering. That only thing hard in this entire project was adding the external antenna because you have to solder some very small parts. You could by a different Arduino chip with the external connector and just replace the one that comes with the CYD, or you could buy a purpose built CYD clone better suited yet more expensive for this project.
Parts:
- CYD https://amzn.to/4hBvf0h $35.00 for 2 / $17.50 per
- 1100MAH Battery https://amzn.to/48I2J9i $21.99 for 4 / $5.50 each
- Optional – External antenna and sma cable for the wifi antenna. https://amzn.to/4epvdpF $8.99 for 2
- antenna solder on connection https://amzn.to/4epvdpF (IPEX U.FL Connectors) $5.00 for 50 / $0.10 each
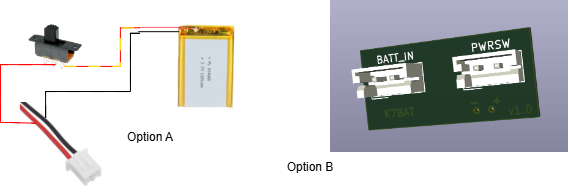
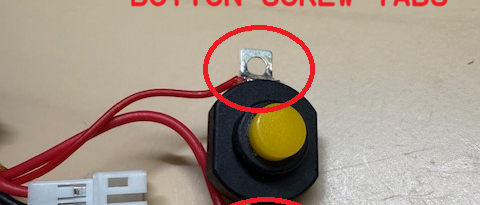
- power switch $1.00
- charge board https://amzn.to/4el8CKU $7.99 for 10 / $0.79 Each
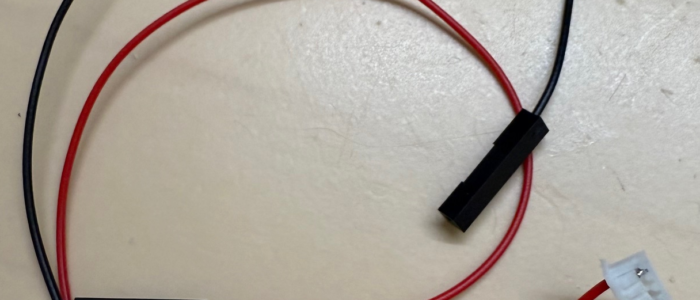
- misc wires
- 3d Printed Case ($5.00) Guessing
Total guess of price for 1 device: $34.39
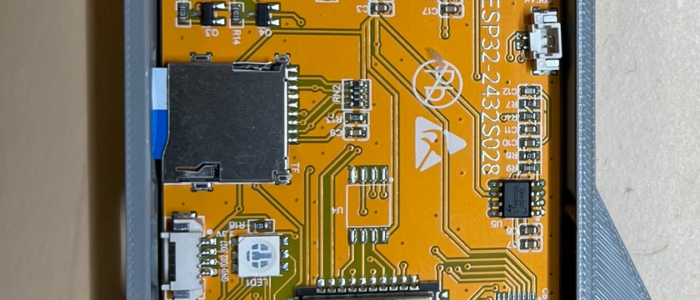
Step 1 – Decide if you want internal or external wifi. I would say external wifi you need good soldering skills because the part is so small, I used a cheap microscope / to video setup to see where I was scraping back mask and cutting a trace.
Step 2 – Print your 3D case, this will take longer than a few minutes to solder some wires. Get it out of the way. Links to my cases are above.
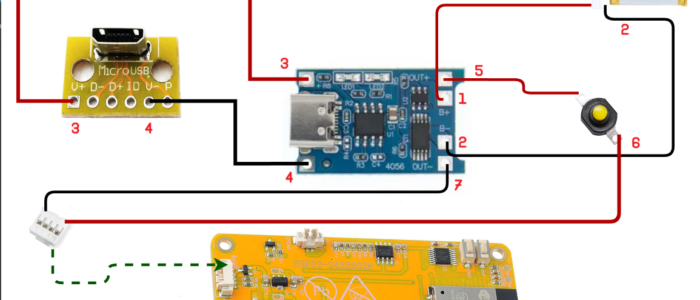
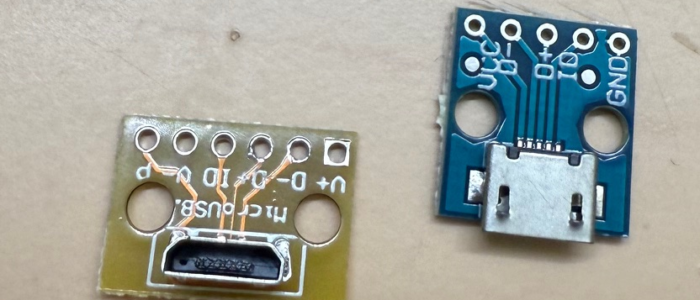
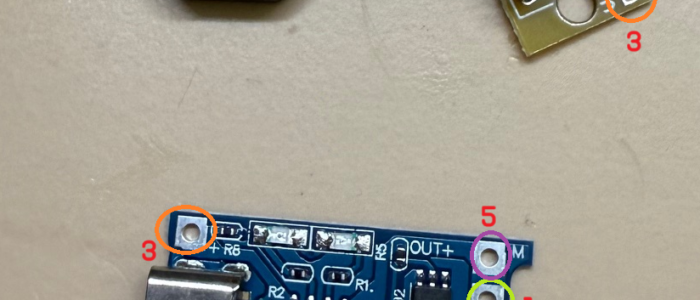
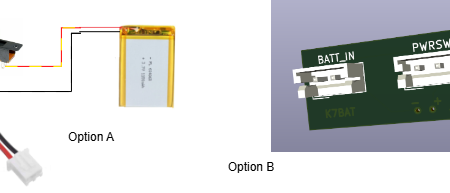
Step 3 – Layout your parts for solder. Use this diagram to get an idea of how it will all connect.
